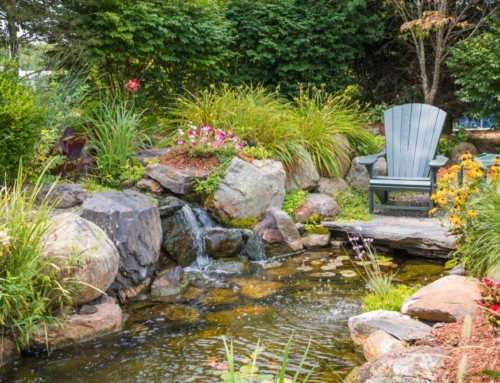
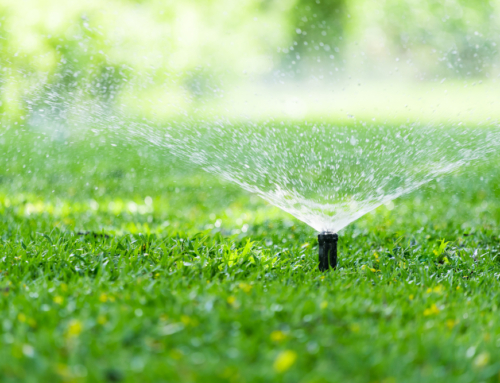
Are you fully ready to winterize your irrigation system? Most drip systems are comprised of a variety of pieces. All of them can mess up your system if the water stays in there and freezes. Do you want to spend the money and the extra time having these parts or your system replaced?
We’re about to explain to you how you can winterize your system so that your efforts at prevention pay off and your system is ready for spring.
Luckily, winterizing a system does not take that long. it should ultimately take no more than an hour. Preparing them for winter is important because freezing temps can damage your system and even water lines to the point of no return.
What you want to do is to shut off the system’s water supply and then work on flushing remaining water out of the system. You want to get it out from everywhere– the drip line, drippers, the sprinklers, the sub-lateral lines, the main lines, the valves, filters, and back flow device.
You can also work with a flat terrain system by installing automatic drain valves at its lowest point. This means that water left in the line will drain out. You can also run some chlorine through, flushing out everything and getting it ready for winter storage (2 PPM works well).
Let’s go over the system parts.
Pumps
You want to drain the pump by opening the lowest drain outlet/plug. Replace with a drain valve and check that no water is left behind. They are tough to remove but can be done. Portable drip units may need their suction lines drained as well (remove from water, drain, cover open ends, cover suction line and open end connection of the pump).
Valves
Valves do not do well with freezing, so make sure that they don’t have to and you’ll save yourself a headache. A closed gate valve will trap water in a bonnet. A closed ball valve will also hold onto its water. If the valve closes when water’s present in the line and it’s drained without the valve opening, the water stays there and freezes but has nowhere to go, causing the parts to break, crack, or split.
Leave solenoid valves open for winter. Automatic control valves may need extra attention in order to drain them all the way. Store the unit inside if you can remove it. If removing it might not work, then remove connections to control tubing from the pressure-reducing valve so you can drain the water. Remove the valve bonnet (or loosen if not) so you can get the water out of the diaphragm’s top. Loosen the top bonnet screws in order to do so.
You may find that valve assemblies can also require attention and energy to drain. If it’s easy to take out, simply store for the season. If not, loosen or remove its valve bonnet so you can get the water out. Take off the filter cap and cover, checking no moisture remains.
Drip tape
Get rid of the drip tape, separating from laterals. Throw in trash.
Deal with the hoses
Whether working with a vinyl layflat or a poly pipe hose, they need to be drained. Lift them by sections and ensure that the water gets all the way out. Once drained, close hose ends. Roll and store.